Intro to 3D Design Step by Step: Your Gateway to Digital Creation
3D design has revolutionized the world of digital art, engineering, and even entertainment. Whether you’re looking to create models for animation, product prototypes, or stunning visualizations, learning 3D design step by step opens up endless creative possibilities. In this beginner-friendly guide, we’ll walk you through the fundamentals, tools, and essential techniques to get started on your 3D design journey.
What Is 3D Design?
3D design involves creating three-dimensional digital representations of objects using specialized software. Unlike traditional 2D drawing, 3D modeling allows you to view and manipulate objects from every angle, providing a realistic perspective for visualization and rendering. This skill is widely used in architecture, video games, movies, and product design.

Step 1: Understanding the Basics of 3D Design
- 3D Modeling: The process of creating a digital representation of an object’s shape.
- Texturing: Applying images or colors to the model’s surface to give it detail and realism.
- Lighting: Adding and adjusting virtual lights to create mood and depth in your scene.
- Rendering: Converting your 3D scene into a 2D image or animation for presentation.
Key LSI Keywords: 3D modeling basics, texturing techniques, lighting in 3D, rendering workflow, beginner 3D design.
Step 2: Choosing the Right 3D Design Software
There are several popular 3D design tools available for beginners. Some of the most recommended include:
- Blender: Free, open-source, and powerful for modeling, sculpting, texturing, and animation.
- TinkerCAD: User-friendly and web-based, ideal for absolute beginners and educational purposes.
- SketchUp: Popular among architects and product designers for its intuitive interface.
- Maya & 3ds Max: Industry-standard software for advanced users in animation, visual effects, and game design.

Tip: Start with a free tool like Blender or TinkerCAD to practice basic modeling and navigation.
Step 3: Navigating the 3D Workspace
Getting comfortable with the 3D viewport is crucial. Here are some common interface elements:
- Viewport: The main window where you build and visualize your 3D scene.
- Toolbar: Contains tools for selection, transformation, and object creation.
- Outliner: A panel showing all objects in your scene for easy management.
- Properties Panel: Where you can adjust object parameters, materials, and rendering settings.
Mastering navigation—zooming, panning, and rotating your view—will make the modeling process much smoother.
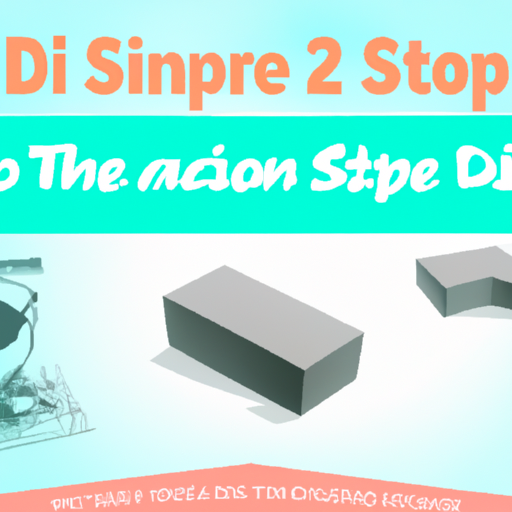
Step 4: Basic 3D Modeling Techniques
Most 3D models start with simple geometric shapes called primitives (cubes, spheres, cylinders). Here’s a basic workflow:
- Add a Primitive: Insert a basic shape into your scene.
- Edit Geometry: Use tools to move, scale, or rotate parts of the mesh.
- Extrude & Subdivide: Create more complex forms by extruding faces or subdividing edges.
- Combine Objects: Merge shapes to build up your final model.

Related LSI Keywords: polygon modeling, mesh editing, extrusion in 3D, 3D mesh manipulation, 3D geometry basics.
Step 5: Adding Materials and Textures
To bring your 3D models to life, apply materials and textures that simulate surface details:
- Materials: Define how light interacts with the surface (color, reflectivity, transparency).
- Textures: Image maps that add intricate details (wood grain, metal rust, fabric patterns).
- UV Mapping: Process of unwrapping your 3D model to apply 2D textures accurately.

Step 6: Setting Up Lighting and Rendering
Proper lighting enhances the realism and mood of your 3D scene. Common light types include:
- Point Light: Emits light in all directions from a single point.
- Directional Light: Mimics sunlight; light rays travel in a single direction.
- Spotlight: Focuses light in a cone shape, perfect for dramatic effects.
Once your scene is lit, render your work to produce a high-quality 2D image or animation. Experiment with render settings to achieve the best balance between speed and quality.
Step 7: Exporting and Sharing Your 3D Designs
After completing your 3D model, export it in common formats such as .obj, .fbx, or .stl. These formats are compatible with 3D printing, game engines, and other digital platforms.
- 3D Printing: Export in .stl format for rapid prototyping and manufacturing.
- Animation & Games: Use .fbx or .obj for importing into animation software or game engines.
- Portfolio: Render images or videos to showcase your work online.

Pro Tips for Beginner 3D Designers
- Start with simple projects to build confidence and familiarity with tools.
- Follow online tutorials and participate in 3D design communities for inspiration and feedback.
- Experiment with lighting and materials to develop your unique style.
- Save your work frequently and organize your files for easy access.
- Keep up with software updates and new features to enhance your workflow.
Summary: Your First Steps in 3D Design
Embarking on your intro to 3D design step by step journey is an exciting creative adventure. By understanding the basics, choosing the right software, and practicing key techniques, you’ll unlock the potential to shape digital worlds. Remember, patience and practice are crucial. As you progress, you’ll develop skills in 3D modeling, texturing, lighting, and rendering—opening doors to industries like animation, engineering, and product design.
Ready to create your first 3D masterpiece? Start now and explore the endless possibilities of 3D design!