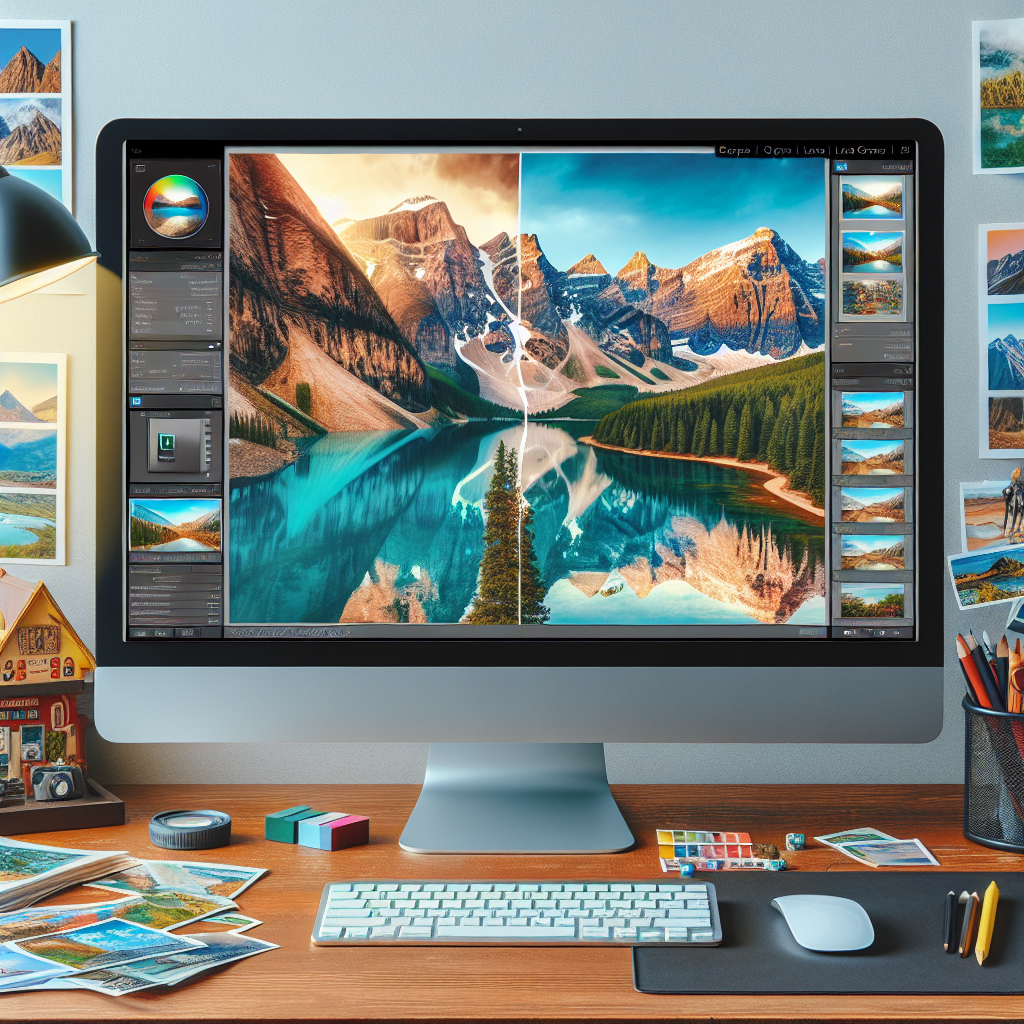
Lightroom Editing for Travel Bloggers: A Step-by-Step Walkthrough
Are you a travel blogger aiming to elevate your photography game? With the right editing workflow in Adobe Lightroom, you can transform ordinary travel photos into stunning visuals that captivate your audience. This comprehensive guide covers Lightroom editing for travel bloggers, including workflow tips, essential tools, and creative inspiration. Whether you’re a beginner or looking to refine your skills, this walkthrough will help you master Lightroom and bring your travel images to life.
Why Lightroom is Essential for Travel Bloggers
Lightroom is the go-to photo editing software for many travel bloggers and content creators. Its powerful tools allow you to enhance colors, correct exposure, and apply creative effects to your images. With Lightroom, you can create a consistent aesthetic for your blog and social media, streamline your workflow, and make your visual stories more engaging.
- Non-destructive editing: Adjust photos without losing original quality.
- Batch processing: Apply edits to multiple images at once for efficiency.
- Presets: Save your favorite looks and apply them with one click.
- Mobile compatibility: Edit on-the-go using the Lightroom mobile app.
Step 1: Importing and Organizing Your Travel Photos
Begin by importing your travel photos into the Lightroom library. Use folders and collections to organize images by destination, event, or date. This makes it easy to find and edit your favorite shots later.
Tip: Rename files and add keywords such as “travel”, “blog”, “city name”, or “landscape” to optimize your photo library for future searches.
Step 2: Basic Adjustments – Exposure, Contrast, and White Balance
Start your editing process with the Basic Panel. Adjust exposure, contrast, highlights, shadows, whites, and blacks to balance the overall image. Fine-tuning the white balance ensures accurate colors, especially for landscapes or cityscapes with diverse lighting conditions.
Quick Workflow:
- Increase exposure for brighter images or lower for moody shots.
- Boost contrast to make elements pop.
- Use the Temperature and Tint sliders to correct color casts.
- Adjust highlights and shadows to recover lost details.
Step 3: Enhancing Colors with HSL and Vibrance
The HSL/Color panel is essential for travel bloggers who want to make colors stand out. Adjust Hue, Saturation, and Luminance for each color individually. This is perfect for making blue skies richer or enhancing the greens in tropical landscapes.
- Increase vibrance for a subtle overall color boost.
- Target specific colors to align with your blog’s brand palette.
- Desaturate distractions to keep focus on the subject.
Step 4: Sharpening and Noise Reduction
Travel photos often include low-light scenes or high ISO settings. Use the Detail panel to apply sharpening and reduce noise, ensuring your images look crisp and professional.
Pro Tip: Mask sharpening to affect only the detailed parts of your image, avoiding unwanted grain in smooth areas like skies or water.
Step 5: Creative Effects with Presets and Profiles
Lightroom presets and color profiles are powerful tools for travel bloggers. Presets speed up your workflow and help maintain a consistent look across your feed.
- Download or create custom presets that match your travel niche (urban, adventure, tropical, etc.).
- Apply a preset as a starting point, then fine-tune the adjustments for each photo.
- Experiment with creative profiles to add unique tones or moods.
Step 6: Cropping, Straightening, and Lens Corrections
Use the Crop tool to perfect your composition and the Transform panel to fix perspective distortions. Enable Lens Corrections to remove unwanted vignetting or chromatic aberration caused by your camera lens.
- Rule of thirds: Use the overlay to guide your cropping for balanced images.
- Straighten horizons: Essential for seascapes or city skylines.
Step 7: Exporting for Blog and Social Media
Export your edited images in high resolution for your blog, and optimize file sizes for fast web loading. Use Lightroom’s export settings to control image quality, resolution, and watermarking.
Suggested Export Settings: 2048px on the long edge, 72dpi, JPEG format, and include your blog watermark for branding.
Lightroom Editing Tips for Consistent Blog Aesthetics
- Stick to a color palette that reflects your travel brand identity.
- Use similar editing techniques across your posts for a cohesive look.
- Organize your presets and create a workflow checklist for faster editing.
Frequently Asked Questions
- Do I need Lightroom Classic or Lightroom CC?
- Both versions are excellent for editing, but Lightroom Classic offers more advanced features and desktop organization, while Lightroom CC is cloud-based and great for editing on multiple devices.
- How do I save time editing travel photos?
- Use batch editing and presets to apply your favorite looks to multiple images at once, then tweak individual photos as needed.
- What are the best Lightroom presets for travel bloggers?
- Look for presets designed for landscapes, cityscapes, and vibrant colors. Many travel bloggers develop their own signature presets to maintain a unique style.
Conclusion
Lightroom editing is an essential skill for travel bloggers who want to produce eye-catching imagery and maintain a consistent online presence. By following this walkthrough, you’ll streamline your workflow, develop your visual signature, and maximize the impact of your travel stories. Start experimenting with Lightroom today and watch your travel blog come alive with beautifully edited photos!
